A Beginner’s Guide to Mending a Hole in Your Jeans
A hole in the knee of a favourite pair of jeans is not the end. It is the start of a small, satisfying repair.
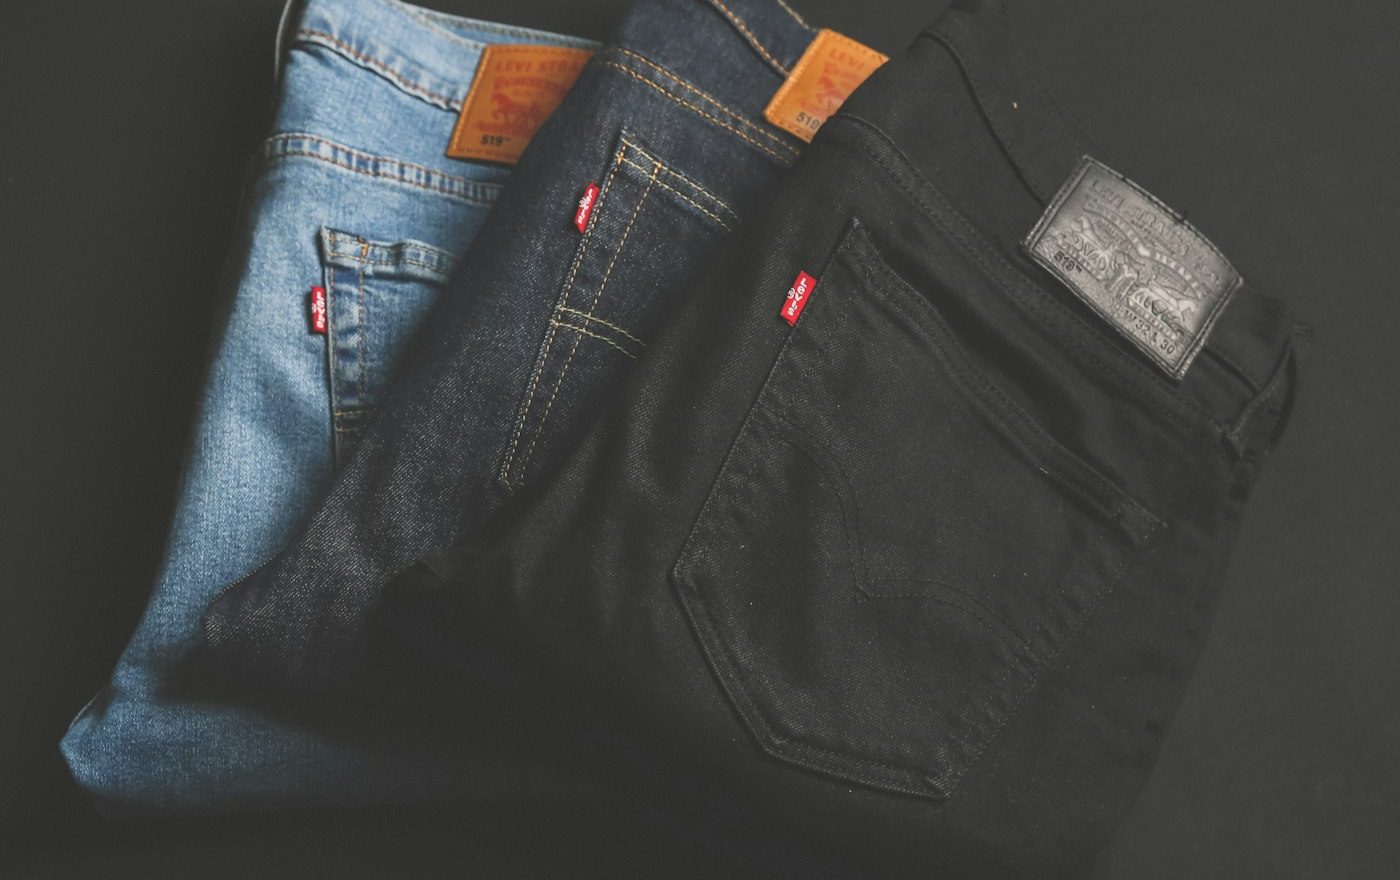
The first pair of jeans I ever mended was a Levi’s 501 that had developed a small hole in the right knee. They were three years old, fitted exactly the way I wanted them to fit, and would have cost ninety pounds to replace. I had never mended anything before in my life. I bought a small kit of needles and dark thread, watched a single YouTube video, and spent a quiet Saturday afternoon doing what turned out to be a genuinely simple piece of work.
I have since done dozens of these repairs. The technique is forgiving. The result, when done with reasonable care, is sturdy enough to last another several years of normal wear. And mended jeans, contrary to what you might assume, often look better than new ones; the small visible repair gives them character.
What you need
The kit:
- A few sharps needles (sewing needles for woven fabric; size 9 or 10)
- Heavy-duty thread, ideally cotton-poly blend in a colour close to your denim (dark blue or indigo works for most jeans; navy or black for darker jeans)
- A piece of patch fabric. Old denim is ideal; cut a square from an old pair of jeans you no longer wear, or buy a small denim patch from a haberdashery for under three pounds
- Small scissors
- Iron and ironing board
- Pins or fabric glue stick
- Optionally: a thimble (saves your finger from needle pricks)
Total cost if buying everything fresh: about fifteen pounds. Most of the items have a longer life than the jeans you are repairing.
The two methods, choose one
There are two basic approaches to repairing a hole in jeans. Each has its place.
The patch method: a piece of fabric is placed behind the hole and the area is sewn through both layers. The patch reinforces the area and the stitching creates a visible repair on the outside. This is the strongest repair and the most common.
The darning method: the hole is filled in with rows of stitching that create new fabric where the old has worn away. No patch is used. The repair is more discrete but slower and less durable for high-stress areas.
For knees, seats, and anywhere that gets heavy wear, use the patch method. For small holes in low-stress areas (a pocket lining, near a seam), darning is fine.
Step one: prepare the area
Inspect the hole carefully. Trim away any loose threads or frayed edges with small scissors. The aim is a clean-edged hole rather than a fuzzy one; the repair sits more neatly against a clean edge.
Turn the jeans inside-out. Iron the area around the hole flat. Wrinkled fabric is harder to sew through cleanly.
Step two: prepare the patch
Cut a piece of patch fabric that is two to three centimetres larger than the hole on every side. The patch should comfortably overlap the worn area in all directions.
If the patch fabric has a clear “right side” (the side that was originally facing out), keep that side facing outward when you fit it behind the hole. The colour and texture will match the surrounding fabric better.
For very small holes, an iron-on patch (sold at craft shops) is an even quicker option. These have a heat-activated adhesive on one side; you position them, press with a hot iron for the time specified, and they bond to the fabric. Iron-on patches alone are not very durable; for jeans, also sew around the edges after ironing on.
Step three: position the patch
With the jeans inside-out and the area flat, place the patch behind the hole (so it is on the inside of the leg, with the wrong side facing the inside of the trouser). The patch should cover the hole completely with margin on all sides.
Hold it in place with a few pins, or use a small dab of fabric glue stick at each corner to stop it shifting while you sew. Avoid stitching through pins; remove them as you reach them.
Step four: stitch
Turn the jeans right-side-out so you can see the hole on the outside. The patch should be visible through the hole.
Thread your needle with about 60cm of thread. Knot the end. Start stitching about a centimetre away from the hole, sewing through both the jean fabric and the patch underneath.
The classic stitch for this is a simple running stitch in rows that cover the worn area and a margin around it. Stitch in straight lines across the hole, working back and forth in parallel rows about 3mm apart. The stitches should pass through both the denim and the patch every time.
As you cross the hole itself, the stitches form a kind of woven layer that closes the gap. The denser the stitching, the stronger the repair.
Continue until the entire area (the original hole plus a margin around it) is covered with stitching. The visible result on the outside should be a rectangular or oval patch of stitches showing the patch fabric through them.
Step five: finish
When you reach the end of the stitching, take three or four small stitches in one place to anchor the thread. Cut the thread close to the fabric.
Turn the jeans inside-out again. Trim any excess patch fabric around the stitched area, leaving about a centimetre margin. The neat trim prevents the patch from catching on anything inside the trouser.
Press the repaired area with the iron one more time to settle the stitches.
The visible repair philosophy
Visible mending has become a quiet movement among people who wear and care about their clothes. The Japanese concept of “boro” celebrates the visible patches that accumulate on hard-worn working clothes over decades; modern Western adaptations include “sashiko” stitching, where the repair is done with white or contrasting thread that becomes a deliberate decorative element.
If you embrace this approach, use contrasting thread (white, gold, red) and let the repair show. You can also use patch fabric in a different colour or pattern; the contrast becomes part of the garment’s character.
For more on the broader habits of repairing rather than replacing, see our slow wardrobe piece and our jacket patching guide.
The expanding pattern
Once you can patch a hole in jeans, you can patch holes anywhere on woven fabric. The same technique works on shirts, jackets, work trousers, and many bags. The skill is transferable, and the more you do it, the faster and neater each repair becomes.
I learned this from my family elder who could re-hem trousers in fifteen minutes flat, and who once said that the difference between repair and replacement is not money or skill but whether you have ever started. The starting is the hard part. After your first repair, you will be amazed at how often the answer to a damaged garment is “mend it, don’t replace it.”
For a related angle, our piece on Why Your Black Clothes Fade So Fast (and How to Slow It) covers a closely connected problem.
Frequently Asked Questions
For a patch repair on jeans, no. Hand sewing is perfectly adequate and arguably gives a better result for visible mending. A sewing machine can speed up the process if you have one and are confident using it; use a denim needle and a sturdy thread. For occasional repairs, hand sewing is fine and requires almost no investment.
Heavy-duty cotton-polyester blend in dark blue or indigo for typical jeans. The polyester content gives strength; the cotton component gives the matte appearance that matches denim fibres. Avoid pure cotton thread (snaps under tension) and pure polyester thread (looks shiny and out of place). Sewing kits with 30 to 40 small spools usually include suitable threads.
Use denim from an old pair of jeans that has similar fading. Look at the cuffs or underside of the pockets where wear is less visible; cut the patch from there. Wash the patch fabric several times before using it so any further fading happens before the patch is sewn on. Perfect colour match is unusual and not necessary; close-enough is the realistic standard.
Inner thigh holes are notoriously hard to repair durably because the area continues to rub against itself every time you walk. The first repair often holds for six months to a year; subsequent repairs in the same spot tend to last less time as the surrounding fabric weakens. Some people add an iron-on patch as reinforcement and stitch through it for the strongest possible bond. Eventually inner-thigh wear will defeat any repair; that is when the jeans have truly reached the end.
Yes, and many tailors will do the work for between fifteen and forty pounds depending on the complexity. Local tailors often understand jean repair specifically and can produce nearly invisible results. For sentimental or expensive jeans, this is excellent value. For everyday jeans, DIY repair costs almost nothing and develops a skill you can use repeatedly.

Smit Sharma
Smit Sharma writes and edits Repair Habit. He is not a licensed technician of anything. What he knows about repair he picked up the ordinary way: watching his father fix things around the flat rather than throw them away, spending two summers as an apprentice in a small electronics shop, and, once he had his own place, running through the mistakes himself on his own washing machine, kettle, chairs, and car. He is a working parent, a slow buyer of new things, and a slightly obsessive maintainer of the ones he already owns. He does not believe repairing your dishwasher makes you a better person. He believes it is often the cheapest and quietest response to a small problem, which is roughly all the philosophy this site carries.
You may also like
How to Patch Your Favourite Jacket Properly
A torn jacket is not a ruined jacket. Patches can be invisible, decorative, or anything in between.

The Quiet Damage Your Tumble Dryer Is Doing
A tumble dryer is harder on your clothes than any other appliance in your house. The damage is…

How to Tell When a Garment Is Worth Repairing
Not everything is worth saving. The honest test has three parts, and most clothes pass two of them.