The Right Way to Touch Up Wall Paint
Touching up wall paint is one of those small jobs almost everybody does badly. Doing it well takes about the same time.
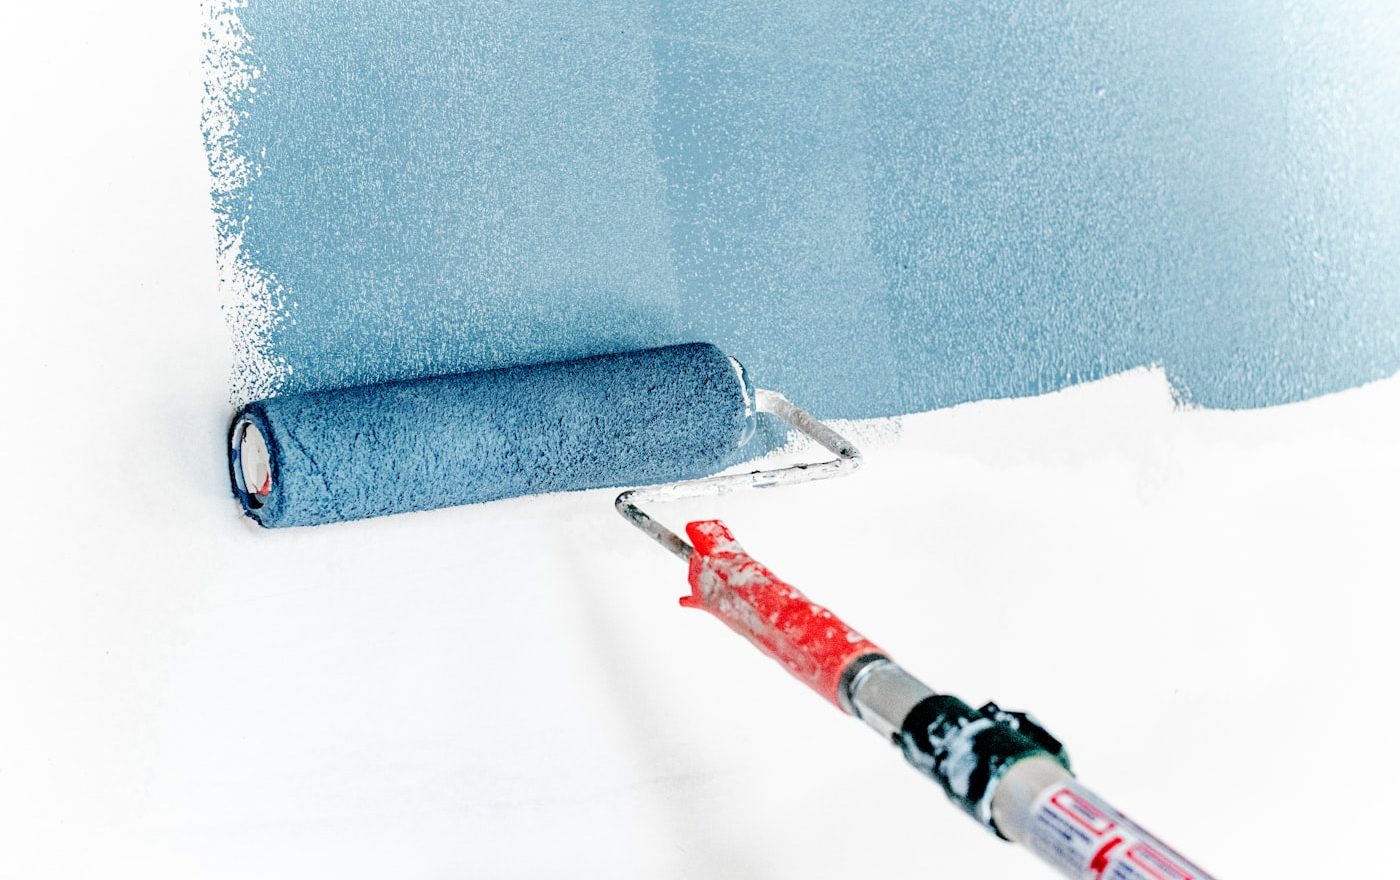
The problem with touching up wall paint is that it looks easy. You have a scratch or a mark or a bit of damage, you have a tin of leftover paint from when the wall was done, and the obvious thing to do is to dip a small brush in and dab the colour back on. About thirty seconds of work, and the wall is restored.
Except it is not. The dabbed patch shows up immediately as a slightly different shade. Or it looks fine when wet but becomes obvious as it dries. Or it looks fine for a week and then settles into a permanent slight halo that nobody can quite stop looking at. Most touched-up walls look slightly worse than they did with the original damage. The point of touching up is to make a small repair invisible; the typical result makes the repair more visible than the damage.
The article below is the slightly slower, slightly more thoughtful version. It takes about fifteen minutes instead of three, and the difference in result is genuinely the difference between “I cannot see where the mark was” and “yes, that is where I dabbed paint on.”
Why touch-ups usually fail
Five things go wrong with most touch-ups. Understanding them is half the fix.
The first is colour. Paint changes shade slightly as it ages on a wall. Sunlight, dust, cleaning, and ordinary fading all shift the colour of the existing wall away from what is in the tin. Fresh paint from the original tin is the colour the wall was when new; it is no longer the colour the wall is now. The difference is small but visible.
The second is sheen. Even matt paints have a slight sheen that develops with age. Fresh paint over old paint can sit at a slightly different reflectivity, which becomes obvious under any oblique light.
The third is texture. Paint applied with a brush has a different texture from paint applied with a roller. A dabbed touch-up has brush marks; the surrounding wall has roller stipple. The transition looks wrong even if the colour is identical.
The fourth is edge. A small patch of new paint has a hard edge where it meets the old paint. The eye picks up that edge as a halo, even when the colours match.
The fifth is the underlying surface. If the original damage left a slight bump or hollow, the touch-up sits at a different level from the surrounding wall, and the difference catches light.
A good touch-up addresses all five of these. A bad one addresses only the colour, and even then often only approximately.
Before you start: preparing the surface
If the damage is just a scuff or a mark, the surface may already be fine. Wipe it down with a damp cloth and a little washing-up liquid; sometimes this alone removes a scuff entirely, and no paint is needed.
If the damage is a small dent, a chip, or a hole where a nail used to be, you need to fill it first. A small tub of flexible filler costs a few pounds at any DIY shop. Press a small amount into the dent with a flexible knife or even a clean finger, scrape off the excess so the filler is flush with the wall, let it dry for the time the packet specifies, and sand smooth with fine grit paper (180 or higher).
The filler patch needs to be sealed before painting. Brush a small amount of dilute paint (about half water, half paint) over the patch as a primer. Let it dry. Without this step, the filler absorbs paint at a different rate from the surrounding wall, and the final touch-up looks duller in the middle.
Matching the paint
If you still have the original tin, you have a head start. Stir it thoroughly before use; pigments settle over time and the colour at the top of an old tin is rarely the same as the colour at the bottom. If the paint is more than two or three years old, take a small amount onto a piece of card and let it dry. Compare to the wall. Sometimes the colours match well enough; sometimes the wall has aged enough that fresh paint stands out.
If the colours no longer match, you have a few options. Most DIY shops will colour-match a paint chip; take a small piece broken off the wall (an inconspicuous corner, behind a picture frame) and have them scan it. The result is usually within five percent of the wall colour, which is closer than the original tin will likely give you after years of aging.
For absolutely critical match (a feature wall in a living room you spend hours looking at), the safest answer is to repaint the entire wall rather than the patch. Wall corners are very forgiving; the eye reads a transition at a corner as deliberate, even if the two walls are slightly different shades. A patch in the middle of a wall is the opposite.
The right application technique
This is where most touch-ups go wrong. The instinct is to dip a small brush in paint and dab the colour onto the patch. The result is a brush-textured island in a roller-textured sea.
The right approach depends on the size of the damage.
For very small areas (a scratch, a single nail hole, a fingerprint), use a small piece of foam or a cotton bud rather than a brush. Stipple the paint on rather than brushing it; the stipple matches the texture of a roller better than brush strokes do. Apply two thin coats rather than one thick one, allowing the first to dry fully between coats.
For medium areas (a scuff several centimetres across, a small patch of filler), use a small roller about three or four inches wide rather than a brush. The roller leaves the same stipple as the original roller did. Load the roller lightly; you do not want excess paint dripping. Roll once over the patch, then “feather” the edges by rolling outwards lightly into the surrounding wall. The feathering blends the edge of the new paint into the old, dramatically reducing the halo effect.
For larger areas, accept that you are repainting at least a significant section of the wall. Paint to a natural break: a corner, a window frame, a door frame. The result is far better than trying to disguise a large patch.
Drying and inspection
Paint changes shade slightly as it dries. Wet paint typically looks darker than dry paint. Do not judge the result until at least four hours after application, and preferably overnight.
View the result in different lighting conditions. Most touch-up failures show up under oblique light (light hitting the wall at a shallow angle from a window or a lamp). If the patch is invisible under direct light but visible under oblique light, the issue is texture or sheen rather than colour.
If the patch is still visible after drying, you have two options. Apply a second coat, feathering wider than the first; sometimes two thin coats blend in where one thicker one does not. Or accept that the patch is best disguised by repainting the whole wall, which is honestly the answer for any really noticeable patch.
The small kit worth keeping
If you live in a place for more than a couple of years, the small touch-up kit is worth assembling.
- A small jar of the paint used on each main wall (a fraction of a litre is enough for years of touch-ups).
- A small piece of foam, a fine brush, and a three-inch foam roller for application.
- A tub of flexible filler and a small filling knife.
- A piece of fine sandpaper (180 grit).
- A clean cloth and a small bottle of washing-up liquid.
The whole kit fits in a shoebox and lives in a cupboard. A patch that would otherwise be a project becomes a fifteen-minute job. For broader thinking about keeping a house in good repair without resorting to big interventions, our piece on the twice-yearly checklist sets out the slower rhythm we follow.
When to repaint a whole wall instead
Sometimes the honest answer is that touching up is not the right job. Repaint the whole wall when:
The damage covers more than perhaps a quarter of a square metre. At that scale, a patch will always be visible.
The paint is more than three years old, the room gets significant sunlight, and the colour has clearly drifted from the tin.
The wall has had multiple smaller patches done over the years, and the cumulative effect is visible. Sometimes a clean coat over the lot is the only way to reset.
The room is a high-stakes one (a living room, a hallway anybody sees on arrival). It is worth the extra hour to paint a complete wall in those spaces.
A repainted wall always looks better than a well-touched-up one. The job is more work, but the result is sometimes the only acceptable outcome. The art of touching up is partly knowing when not to bother and just to commit to the larger job.
Frequently Asked Questions
Almost always one of two reasons. First, the paint on the wall has aged and is no longer the same shade as paint from the tin; sunlight and dust have shifted it. Second, the application technique left a different texture from the rest of the wall (brush rather than roller, or thicker application). The fixes are to colour-match the wall as it is now (not as it was when painted), and to apply with a small foam roller or stippled cotton bud rather than a brush. Even then, very sensitive walls (a clean white in a sunlit lounge) may need full-wall repainting rather than touching up.
Properly sealed, in a cool dry place, water-based paint typically lasts two to three years before it starts to thicken or separate beyond easy stirring. Oil-based paint lasts longer, often five years or more. Once a tin has been opened and exposed to air, the lifespan drops; the layer of skin that forms on top is the same paint thickened and useless. To extend the life of opened paint, pour a small amount into a sealed jar to use as a touch-up reserve, and seal the main tin firmly. If you only have one tin and need to keep it longer, lay a circle of cling film over the paint surface before sealing the lid.
In theory yes, in practice the result is often unpredictable. Different brands use different pigments and binders, and even a colour that looks identical wet can dry to a different shade. If you have to use a different brand, take a small sample first, paint it on a piece of card, let it dry fully, and compare to the wall before committing. The safer option, if you do not have the original paint, is to have the wall colour-matched at a paint shop using a scanned chip; the result is usually within five percent and is far closer than a generic match.
Gloss and satin paints are harder to touch up than matt for the same reason they look so good when painted fresh: the sheen reflects light, and any inconsistency in application shows up as a different reflectivity. The best approach is to apply the touch-up with a small foam brush rather than a bristled one, to feather the edges out further than you would with matt, and to apply two thin coats rather than one thick. Even with perfect technique, satin and gloss touch-ups often look slightly different at oblique angles; if the area is particularly visible, painting the whole panel or door is sometimes the cleaner answer.
Only if the damage involves a bump or excess material; in that case, lightly sand the area smooth before applying paint. For ordinary scuffs and marks, sanding is not necessary and can actually do harm; you risk taking off some of the original paint and creating a worse problem. The right pre-paint preparation for a scuff is a wipe with a damp cloth and washing-up liquid to remove any grease or dirt. For a nail hole, fill, let dry, sand smooth with fine grit, brush dust away, prime, then paint. Heavy sanding of an undamaged wall before touch-up usually makes the patch more visible, not less.

Smit Sharma
Smit Sharma writes and edits Repair Habit. He is not a licensed technician of anything. What he knows about repair he picked up the ordinary way: watching his father fix things around the flat rather than throw them away, spending two summers as an apprentice in a small electronics shop, and, once he had his own place, running through the mistakes himself on his own washing machine, kettle, chairs, and car. He is a working parent, a slow buyer of new things, and a slightly obsessive maintainer of the ones he already owns. He does not believe repairing your dishwasher makes you a better person. He believes it is often the cheapest and quietest response to a small problem, which is roughly all the philosophy this site carries.
You may also like

How to Care for Suede Shoes Through Every Season
Suede is not the fragile material people fear. It just needs different habits to leather, and a little…
How to Fix a Toilet That Runs Constantly Without Calling a Plumber
The fill valve or the flush valve seal, one of the two is always the culprit. Both cost…

The Calm Sunday Routine That Keeps a Whole House Running
A short, repeatable rhythm on a Sunday afternoon is worth more to a house than a frantic deep-clean…