The Beginner’s Guide to Re-Gluing a Loose Joint
A loose joint is the easiest furniture repair there is, provided you remove the old glue properly.
The first piece of furniture I ever repaired was a small wooden stool that had belonged to my family elder. One of the four leg joints had given way, and the stool had moved from “kitchen stool” to “doorstop” sometime in the previous year. I had no idea what I was doing. I bought a tube of wood glue, slathered some into the gap, jammed the joint back together, and was rewarded with a stool that came apart again within a week.
I have since done dozens of these repairs, and the difference between a good one and a bad one is entirely about preparation. The actual gluing is the easy part. The preparation is what makes the repair last.
Why old glue stops new glue from working
Wood glue (PVA, the standard yellow glue most of us use) bonds to wood by soaking into the wood fibres and then drying solid. It cannot soak into anything that is not wood. Old, dried glue is essentially a layer of cured plastic; new glue applied on top of it bonds to the plastic, not to the wood, and the bond is weak.
For a re-glue to last, you must remove every trace of old glue from both surfaces of the joint. This is the single most important step in the entire repair. Skip it and you will be re-gluing the same joint again within months.
The tools you need
- PVA wood glue (any yellow wood glue from a hardware shop).
- A sharp chisel or a stiff scraper.
- A clean cloth.
- A strap clamp, ratchet strap, or several large rubber bands.
- Disposable gloves (optional but useful).
- A piece of newspaper or cardboard to protect your surface.
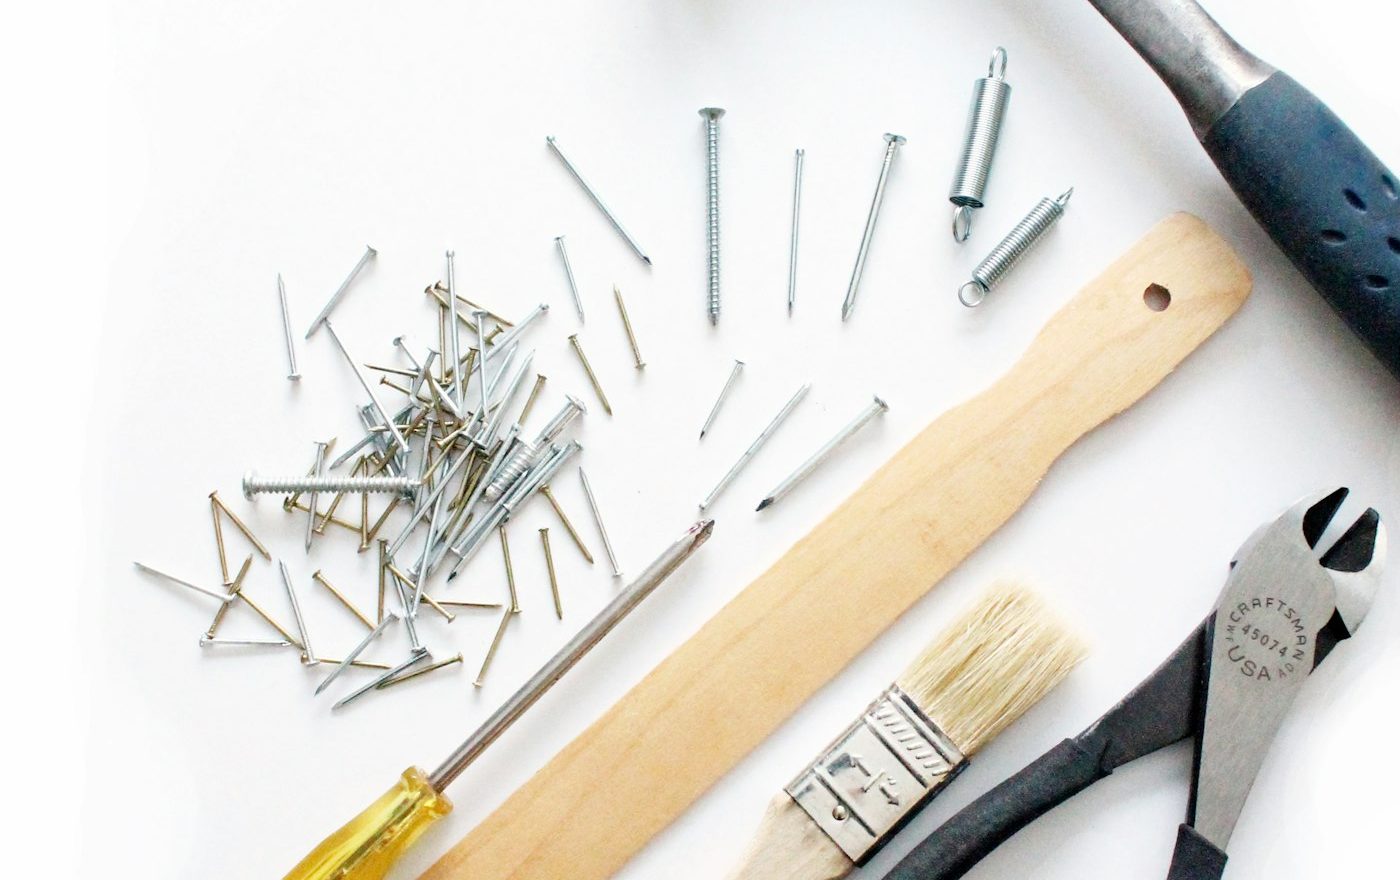
For most household furniture repairs, that is the entire kit. You do not need specialist clamps, exotic glues, or workshop equipment. A confident beginner can do almost any joint repair with these basics.
Step one: separate the joint carefully
If the joint is fully loose, gently wiggle it apart. If it is partially loose (some movement but still connected), do not try to force it apart unless you absolutely have to. Sometimes you can clean the visible surfaces and work fresh glue into the gap without full disassembly.
For joints that need to come fully apart, wiggle slowly and pull along the original axis of assembly. Twisting or prying can damage the joint geometry. If the joint refuses to come apart easily, leave it; a partially intact joint that is glued in place is often better than a forced-apart joint that no longer fits well.
Step two: remove every trace of old glue
Look at both surfaces of the joint. You will see old glue: usually a glassy, hard layer, often discoloured.
Use a sharp chisel held flat against the wood, bevel up, and scrape the old glue off with gentle pressure. Work along the grain where possible. The goal is bare wood, not damage to the wood itself. A scraper or even a sharp knife held at a low angle works similarly.
For curved or awkwardly shaped joints (round dowel ends, irregular tenons), you may need to use a piece of sandpaper wrapped around a dowel of matching size, or a curved scraper. Take your time.
Continue until both surfaces show bare wood. Brush away any dust with a soft brush or blow it off. The surfaces should be clean enough that nothing sticks to your finger when you touch them.
Step three: test the dry fit
Before any glue goes near the joint, reassemble it dry. The pieces should fit firmly together with light hand pressure. If the joint feels sloppy or has obvious play, it will not be solid even when glued. Two options:
For minor looseness: wrap a single layer of thread or thin cotton around the tenon or dowel before reassembly. The thread bulks the joint slightly and gives the glue more surface to grip.
For significant looseness: you may need to glue a thin shim of matching wood to one face of the joint to bring it back to the right dimensions. This is fiddly but produces a strong repair.
Do not assume more glue will make up for a loose fit. It will not. Glue is for bonding, not gap-filling.
Step four: apply the glue
Apply a thin, even coat of PVA glue to both surfaces of the joint. A small brush, a finger, or a thin scrap of card all work as applicators. You want enough glue to coat the surfaces but not so much that it puddles or runs.
The classic beginner mistake is to apply too much glue. Excess glue squeezes out of the joint under clamping pressure, makes a mess, and (counterintuitively) actually weakens the bond by creating a thicker glue line. Thin and even is the goal.
Step five: assemble and clamp
Push the joint together with firm hand pressure. You should see a thin line of glue squeeze out around the joint, which is a sign of proper coverage. Wipe this away immediately with a damp cloth before it dries.
Apply clamping pressure. For most furniture joints, a strap clamp or a long ratchet strap wrapped around the piece works well. The clamping pressure should be firm enough to close the joint fully but not so hard that you damage the wood. For small joints, large rubber bands can provide adequate pressure.
Leave the clamps in place for at least four hours, preferably overnight. Resist any urge to test the joint during this time; partial pressure during cure can weaken the bond.
Step six: clean up and wait
Remove the clamps. Inspect the joint. There should be no visible gap and no excess glue around the seam. If you wiped well during clamping, the cleanup is minimal. Any remaining hardened glue can be scraped off carefully with a sharp chisel, working along the grain.
Wait a full 24 hours before subjecting the joint to any real load. Wood glue continues to cure for the first day; the joint will reach full strength only after that period.
What can go wrong
Most failed re-glues fail for one of three reasons. Old glue not properly removed. Loose fit not addressed. Insufficient clamping pressure or not enough cure time. Address all three carefully and the repair should outlast the rest of the furniture.
One more consideration: if the wood itself is split or cracked at the joint, gluing the joint will not fix the underlying wood damage. In those cases, you need to either repair the wood (clamping a split closed with glue, sometimes with a small wooden pin driven through to reinforce) or replace the damaged part entirely.
For applying these skills to a wider range of repairs, see our piece on how to tighten a wobbly chair. And for the broader habit of catching loose joints before they fully fail, see the furniture maintenance habits guide.
Frequently Asked Questions
Just enough to lightly coat both surfaces. You should be able to see the glue on the wood as a thin glossy film, but not so much that it puddles. After assembly, a small bead of glue should squeeze out around the joint perimeter; that confirms adequate coverage. If no glue squeezes out, you used too little. If glue runs in streams down the wood, you used far too much. The right amount is closer to "lightly buttered" than "heavily frosted".
For everyday furniture, PVA wood glue is the best general choice. Hide glue (an old-fashioned animal-based glue) is preferred for antiques because future repairs can reverse the bond by warming. Epoxy is overkill for normal joints and is harder to clean up. Polyurethane glue expands as it cures and is useful for outdoor furniture but messy indoors. Super glue is too rigid and brittle for chair joints. Stick with PVA unless you have a specific reason to choose otherwise.
Firm but not crushing. The clamping pressure should close the joint fully and ensure good wood-to-wood contact. Excessive pressure can squeeze too much glue out (weakening the bond) or damage soft woods. As a rough guide: if you can just see a small bead of glue squeeze out around the seam, the pressure is right. If glue gushes out, ease off.
Almost always one of three things. The old glue was not removed properly (most common). The fit was loose and the glue tried to bridge a gap it could not (second most common). The joint was put under load before the glue had fully cured (third). Diagnose by examining the failed joint: if you can see a thin film of glue still on both surfaces from your last repair, the bond formed but to old glue rather than wood. Clean more thoroughly and try again.
For full-strength repairs, yes. Glue cures by displacing water and air from between the surfaces; firm pressure ensures good contact during cure. Some small repairs (a thin dowel into a hole, for example) can rely on the wood fit itself to provide the pressure, but for any joint that bears load or is visible from the outside, clamping is what turns an adequate repair into a lasting one. A strap clamp or ratchet strap suffices for most jobs.

Smit Sharma
Smit Sharma writes and edits Repair Habit. He is not a licensed technician of anything. What he knows about repair he picked up the ordinary way: watching his father fix things around the flat rather than throw them away, spending two summers as an apprentice in a small electronics shop, and, once he had his own place, running through the mistakes himself on his own washing machine, kettle, chairs, and car. He is a working parent, a slow buyer of new things, and a slightly obsessive maintainer of the ones he already owns. He does not believe repairing your dishwasher makes you a better person. He believes it is often the cheapest and quietest response to a small problem, which is roughly all the philosophy this site carries.
You may also like
How to Tighten a Wobbly Chair Without Replacing It
A wobbly chair is almost never broken. It is just loose, and loose joints have a quiet, durable…
How to Save a Water-Damaged Wooden Tabletop
White rings and dark stains on wood are reversible, provided you choose the right treatment for the depth…

What to Do About a Sagging Bookshelf
A sagging shelf is a structural warning. Reinforce it now, or watch it bow further until it cracks.