A Step-by-Step Guide to Reupholstering a Dining Chair Seat
A drop-in dining chair seat is the easiest reupholstery job in the house. Two hours, fifteen pounds, and a chair that looks new.
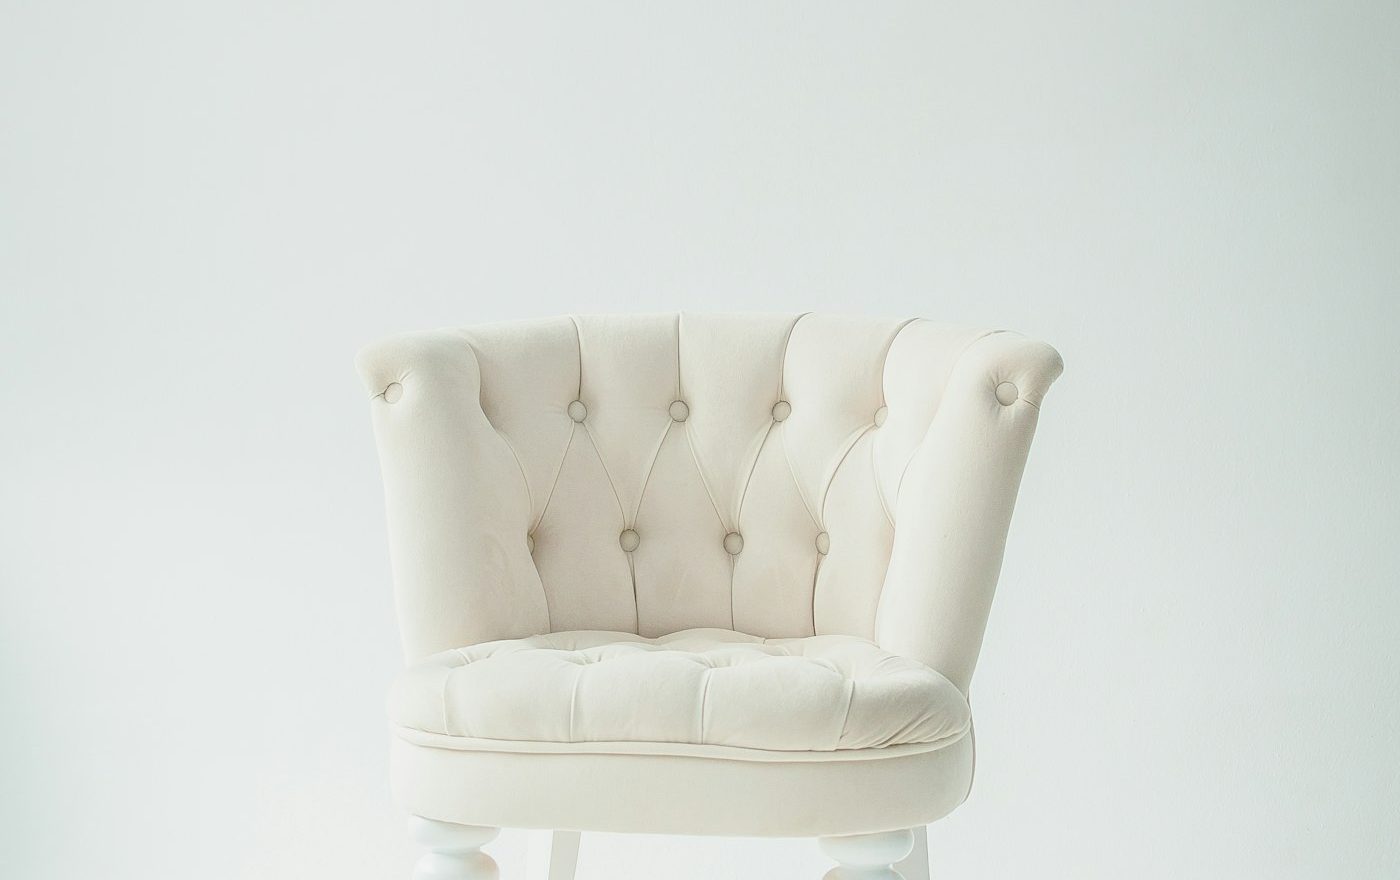
The dining chairs in our kitchen had reached the point where the seat covers were genuinely embarrassing. Twelve years of family meals, coffee spills, a memorable evening involving a tipped-over bottle of red wine, and a small dog who once decided that the corner of the cushion was a perfectly acceptable place to chew. The chairs themselves were sound. The covers needed help.
I had never reupholstered anything in my life when I started this project. I bought a metre of fabric, borrowed a staple gun, and worked through the four chairs over one weekend. They look genuinely new now, and the job was substantially easier than I had expected. Drop-in dining chair seats are the gentlest possible introduction to upholstery work.
What is actually involved
A drop-in seat is a removable wooden seat (usually a flat or slightly curved board) covered with foam and fabric. It sits inside the chair frame and is held by two or four screws underneath. To reupholster, you remove the seat, strip the old fabric (and often the old foam), fit new foam if needed, stretch new fabric over the foam, and staple it to the underside of the board. Then you screw the seat back into the chair.
That is the entire job. For a chair with this kind of seat, no sewing is required, no specialist skills are needed, and the work is forgiving of beginner mistakes because everything that matters is hidden on the underside.
The tools and materials
- A staple gun, ideally electric or manual heavy-duty (a cheap office stapler will not work; the staples need to penetrate hardwood).
- 1/4-inch or 6mm staples (check that your gun matches the staple size).
- Fabric (medium-weight upholstery fabric works best for chairs; you need roughly half a metre per chair for standard seats).
- Foam, if the existing foam is compressed or stained (high-density 5cm foam is standard for dining seats).
- Polyester batting or “dacron” wrap (optional, adds softness around the edges).
- A screwdriver to remove the seat from the chair.
- Sharp fabric scissors.
- A pencil for marking.
- A staple remover (an old flathead screwdriver works).
Total cost for a typical four-chair dining set is around forty to seventy pounds, depending on fabric choice. A staple gun (twenty to thirty pounds) is a one-time investment that pays back across many projects.
Step one: remove the seat
Turn the chair upside down. Look at the underside; you will see two or four screws holding the seat board to the chair frame. Unscrew them. The seat lifts out.
If the seat does not come out easily, check for any glue around the edges (some manufacturers lightly glue seats in place). Run a thin blade around the seat to break any glue, then try again.
Step two: assess the foam
Remove the existing fabric and inspect the foam underneath. Sometimes the foam is fine and only the fabric needs replacing; other times the foam is compressed, stained, or smelly and benefits from replacement.
For foam replacement, measure the seat board and cut new foam to the same size. Foam is easy to cut with a sharp serrated knife; an old bread knife works perfectly. Cut just slightly larger than the board so the foam compresses into a slight overhang.
For batting (the soft polyester wrap that goes over the foam), cut it 5cm larger than the foam on all sides. The batting wraps around the foam and creates a softer, rounder edge.
Step three: cut the fabric
Place the seat board on the back of your fabric. Cut the fabric 10 to 15cm larger than the seat board on every side. This excess is what you will fold underneath and staple.
If your fabric has a clear pattern direction (a stripe, a print with a top and bottom), make sure the pattern is oriented correctly relative to the front of the seat. Mark the front edge with a small piece of tape so you do not flip it accidentally.
Step four: layer up
Working face-down: fabric, then batting, then foam, then board. Centre everything carefully. The fabric should be face-down on your work surface, with the batting on top, then the foam in the middle, then the seat board on top of all of it.
Step five: staple the fabric to the board
This is where the actual upholstery skill comes in, and it is straightforward once you understand the pattern.
Pull the centre of one long edge of the fabric up and over the foam, onto the underside of the seat board. Pull firmly but not so hard that you compress the foam excessively. Drive a single staple through the fabric into the board, about 2cm from the edge of the board.
Rotate the seat 180 degrees. Pull the centre of the opposite long edge tightly. Staple it.
Rotate 90 degrees and do the same for one short edge. Then the opposite short edge.
You should now have four staples, one in the centre of each edge, with the fabric stretched evenly. Hold the seat up to check; the fabric on the top should be smooth and the foam should look evenly compressed.
Step six: work outwards from the centre staples
Going back to the first edge: pull the fabric to one side of your centre staple and drive another staple about 5cm to the side. Then pull the fabric to the other side of the centre staple and staple there. Alternate sides as you work outwards.
Repeat on each edge in the same way. Keep checking the top of the seat regularly to make sure you are not creating wrinkles or unevenness.
Step seven: handle the corners
Corners are where most beginners get stuck. The trick is to fold the fabric like wrapping a present.
For each corner: pull the corner of the fabric straight up over the corner of the board. Staple it down. Then fold the two adjacent edges of fabric over the corner in a clean fold (like wrapping a parcel), and staple them down on the underside.
It takes a couple of attempts to get neat corners. Practice on a hidden corner first. The finished corner should be smooth on the visible top of the seat, with the fold tucked invisibly on the underside.
Step eight: trim and refit
Once the fabric is fully stapled, trim away any excess fabric on the underside with sharp scissors. Leave about 2cm of fabric beyond the staples; this keeps the staples from being the very edge of the cover.
Drop the seat back into the chair. Screw it down from the underside. The job is complete.
What can go wrong
The two most common beginner problems are puckered fabric (caused by uneven stretching) and visible staples on the top (caused by stapling too close to the edge of the board). For puckers, remove staples in the affected area, re-stretch, re-staple. For visible staples, you can sometimes pull the offending staples and re-staple slightly further in.
If your fabric is showing through the foam in places, the foam may be too thin; add a layer of batting to soften and bulk it up.
For the broader habit of looking after dining chairs through their long lives, see our wobbly chair guide and our furniture maintenance habits.
For a related angle, our piece on How to Refresh a Faded Sofa Without Buying a New One covers a closely connected problem.
Frequently Asked Questions
For dining chairs, look for medium-weight upholstery fabric with a tight weave. Lightweight dressmaking fabric will pull and pill quickly. Heavyweight tapestry can be difficult to stretch evenly for a beginner. Cotton-polyester blends in upholstery weight are forgiving and easy to clean. Avoid pure linen for kitchen chairs; it shows every spill. If you live with children or pets, look specifically for stain-resistant treated fabrics, sold by all major upholstery suppliers.
For a standard drop-in dining seat (roughly 40cm x 40cm), you need a piece of fabric about 60cm x 60cm to allow for the overhang that wraps around the underside. For four chairs, half a metre of standard-width upholstery fabric is usually enough. Buy extra for first-time attempts; a metre across four chairs gives generous margin for cutting mistakes and pattern matching. Patterned fabric usually needs more for matching across all seats.
Almost always yes. Layering new fabric over old creates a bulky seat that no longer fits properly in the chair frame, and any stains or smells from the old fabric will eventually work through. The job of removing old staples is tedious but quick (an old flathead screwdriver prises them up). It also lets you assess the foam and replace it if needed. Trust me; do the proper job.
Technically yes but it is genuinely difficult. Some people use small upholstery tacks driven by a hammer, which works but takes much longer and requires a deft touch. A basic staple gun is one of the most useful tools in a household toolkit; if you do not have one, the twenty pounds spent on one will be repaid by this single project and useful for years afterwards. Look at it as a long-term investment, not a single-project expense.
You can, but it is a significantly harder job that involves working on the chair itself. Fixed-seat chair upholstery typically requires removing the existing cover by lifting tacks or staples from awkward angles, sometimes accessed through small hidden gaps in the chair frame. It is doable but I would not recommend it as a first project. If your chairs have fixed seats and you want to reupholster, find a small local upholsterer for a quote, or practice on a drop-in seat from a different chair first to build confidence.

Smit Sharma
Smit Sharma writes and edits Repair Habit. He is not a licensed technician of anything. What he knows about repair he picked up the ordinary way: watching his father fix things around the flat rather than throw them away, spending two summers as an apprentice in a small electronics shop, and, once he had his own place, running through the mistakes himself on his own washing machine, kettle, chairs, and car. He is a working parent, a slow buyer of new things, and a slightly obsessive maintainer of the ones he already owns. He does not believe repairing your dishwasher makes you a better person. He believes it is often the cheapest and quietest response to a small problem, which is roughly all the philosophy this site carries.
You may also like

How to Refresh a Faded Sofa Without Buying a New One
Faded fabric, tired cushions, and a slightly defeated air can almost all be addressed for under fifty pounds.

What to Do About a Sagging Bookshelf
A sagging shelf is a structural warning. Reinforce it now, or watch it bow further until it cracks.
How to Fix a Wardrobe Door That Will Not Close Anymore
Diagnosing which of three problems (a hinge, a warped door, or a shifted carcass) comes first, then adjusting…